Creating Sections
Creating sections, that is, the actual groupings of students and teachers meeting as classes during the year, is where all the pieces we have constructed thus far come together: years, terms, courses, timetables and people.
The total number of sections in a given school quickly multiplies. In a school with 20 teachers teaching four classes, there are 80 sections. In most cases, you will eventually want to use Importing and Exporting from Spreadsheet to create sections automatically. Going through the “manual” process of creating sections using the web interface will help you understand how sections work, however.
Making a New Section Via the Web Interface
As “manager,” navigate to the year the section is to take place, and then select Courses:
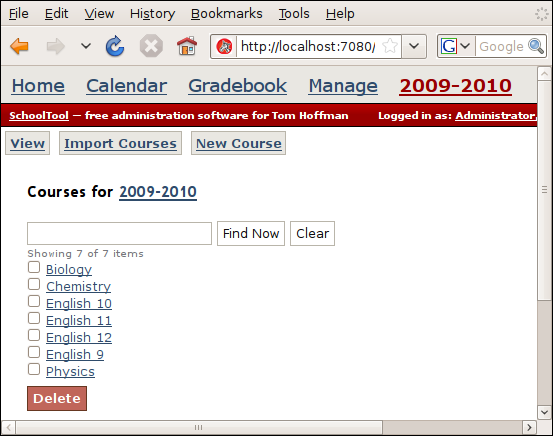
We will create a new section of the English 9 course, so click that link:
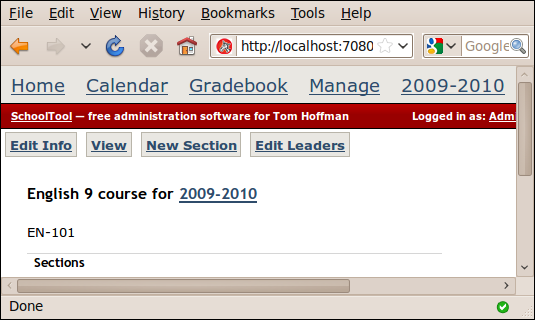
Click the New Section button under the red bar:
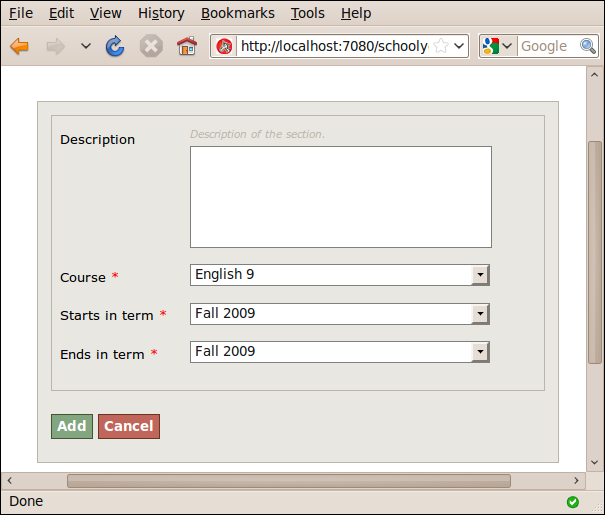
In the above form, the Description is optional. The relevant Course should be pre-selected. In this case, we only have one term set up, but if the section continues across multiple terms, you can create “linked” sections across multiple terms in this form.
Hit Add:
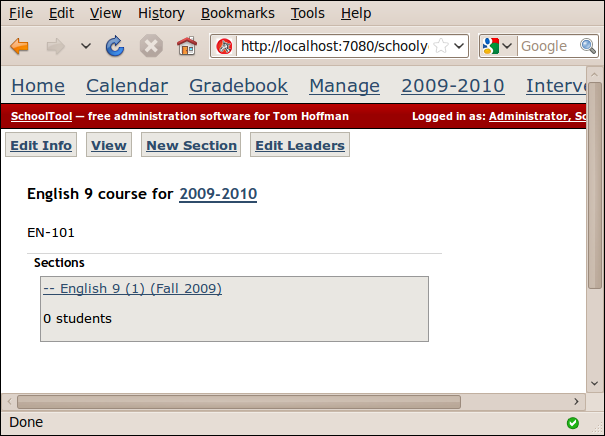
And click on the new section title, English 9 (1) (Fall 2009) to view the main page for the section:
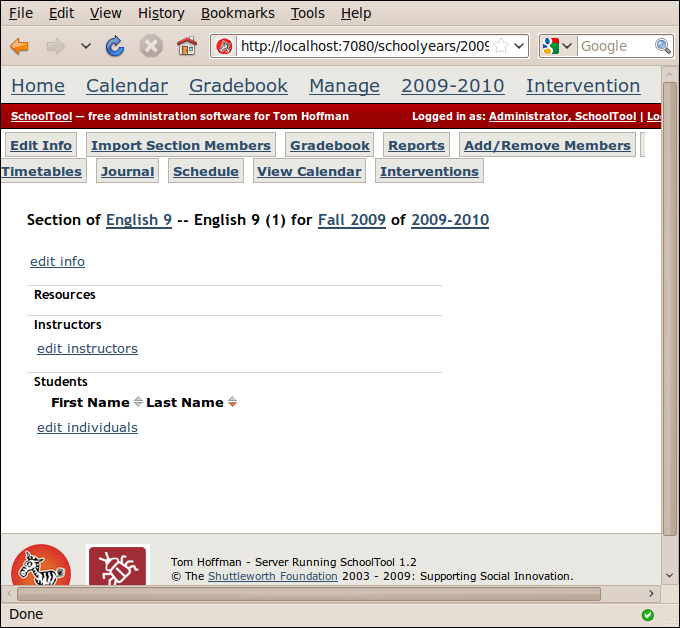
Adding and Editing Instructors and Pupils
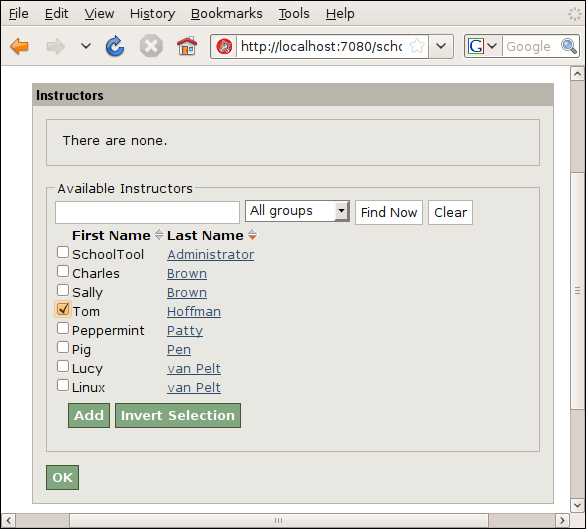
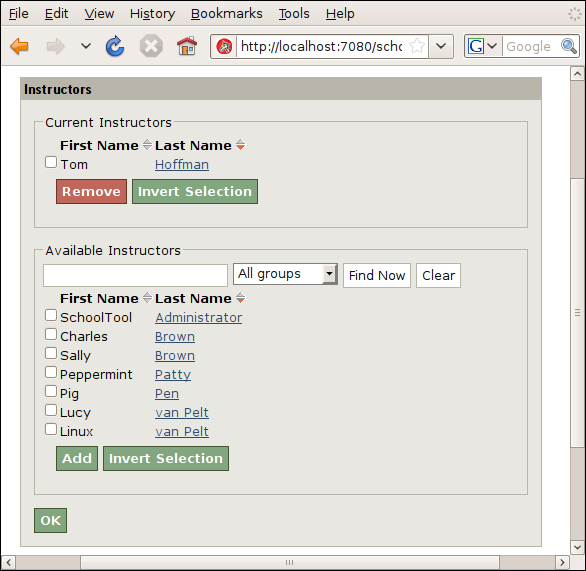
To add an instructor or instructors for the class click edit instructor. The subsequent form works like the add form for Groups. Use the user you created in Creating a User Account.
Likewise, click edit individuals to add pupils to the section. The terminology in this page is a bit misleading. The list of people you may add is not limited to available “students.” It can display all people in the system. In this case, we know all the students we want to add to the section are part of the “Cats” team, so Using the Search Widget we can narrow the selection down to that group’s members and Invert Selection to check all their boxes with one click:
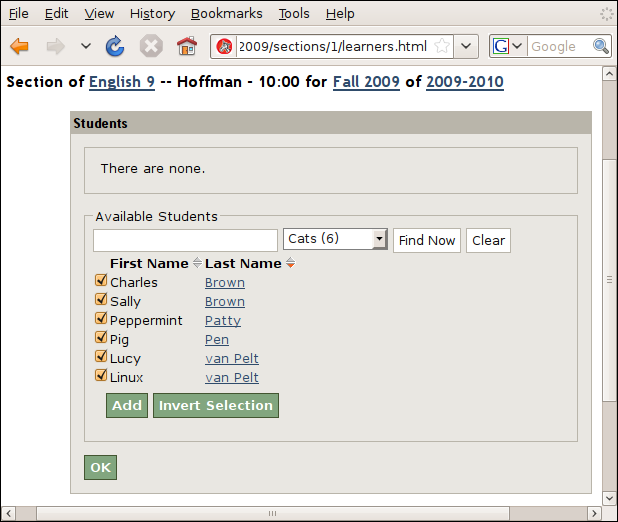
The populated section looks like this:
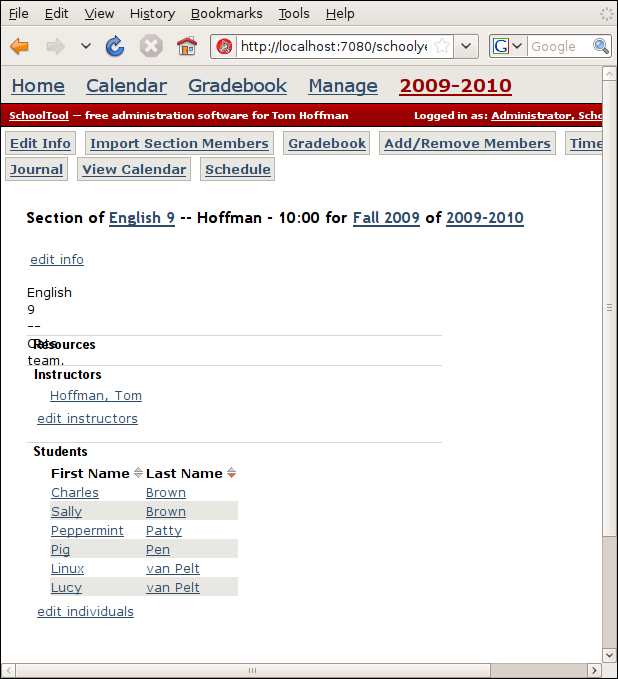
Note that the display glitch for the description (it displays vertically) will be fixed in the next release.
Scheduling the Section into a Timetable
If you have set up timetables, you can now assign the section’s meeting times. If you did not create a timetable, you can still use the section gradebook and some other SchoolTool functionality, just not anything that is dependent on knowing when the section meets, like the attendance journal or calendar.
From the main section view, click Schedule:
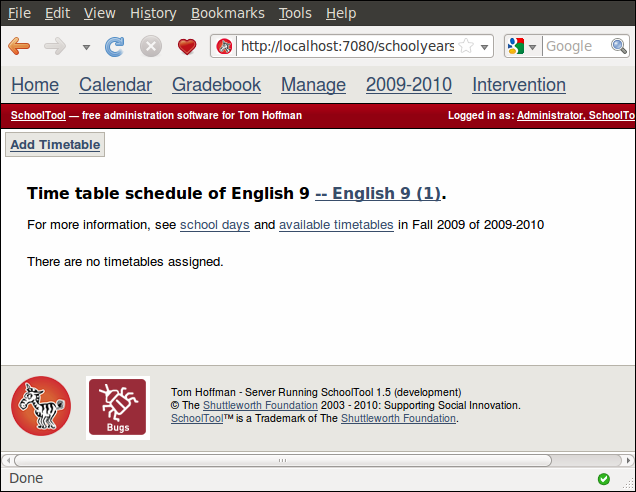
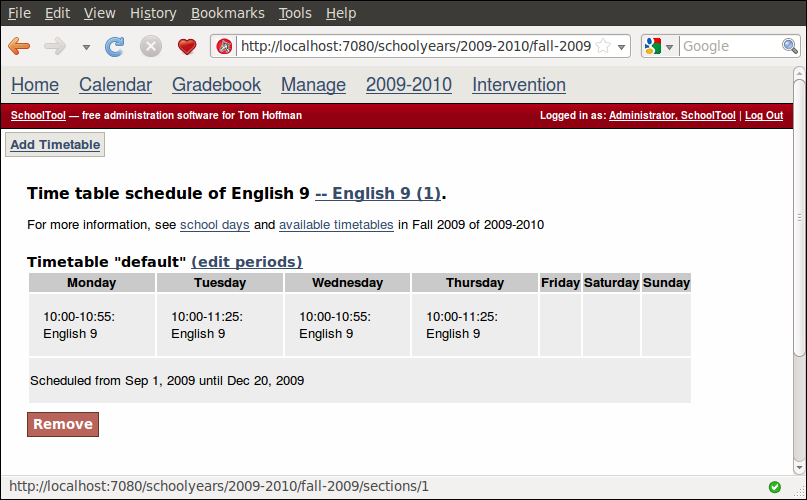
Then Add Timetable:
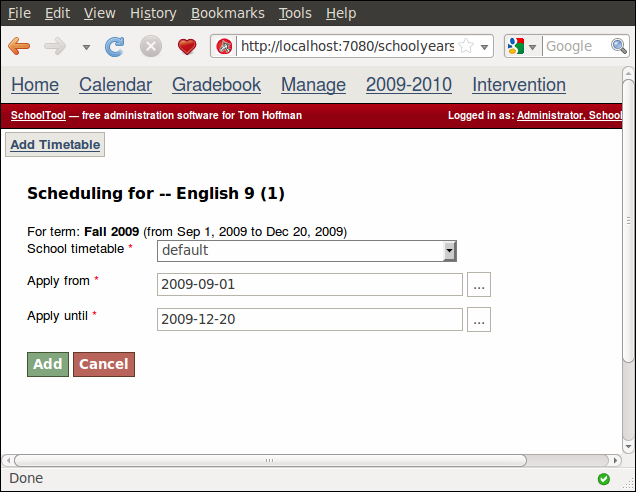
Since we just have one timetable defined for the year, we don’t have to change that field. If your school has two different timetables (i.e., some classes start and end at overlapping times), you can select which one to use for this section. For now, we’ve just got the “default” one we created in Modeling Your School’s Timetable.
By default, the beginning and end of the span of days the section meets is the same as the beginning and the end of the term. You can change this to a shorter span within the term if you’d like. Click Add:
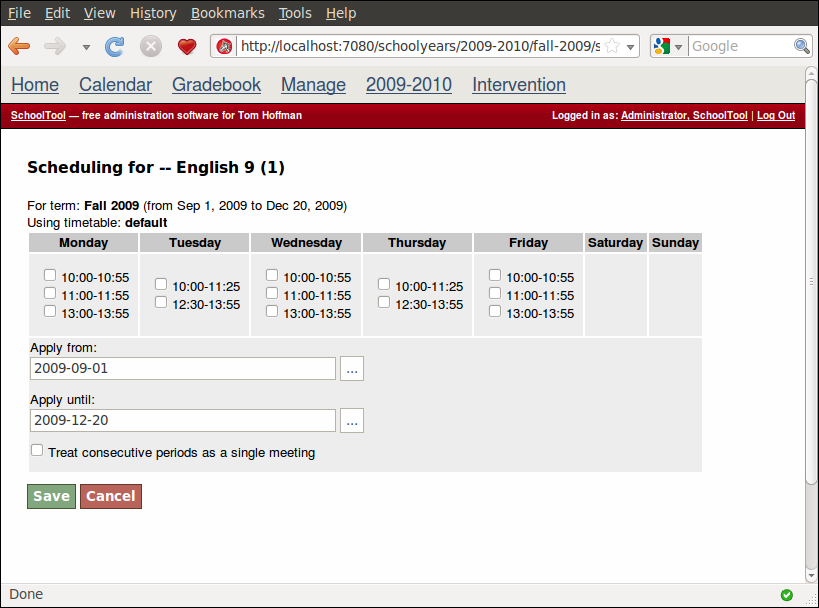
This section meets Monday through Thursday at 10:00. So we check the appropriate boxes:
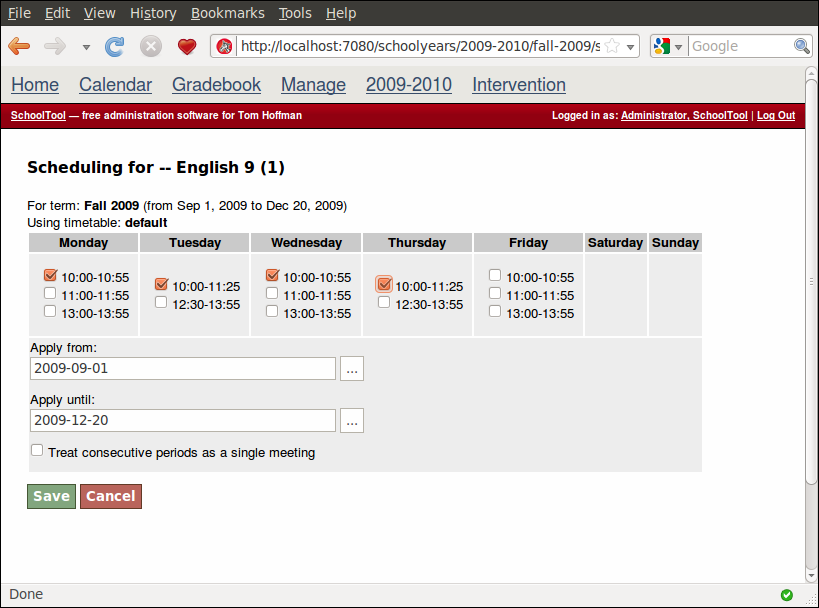
You can apply this And hit Save. If you want to apply this timetable to only a specific span of dates within the term, you can changes the Apply from: and Apply to: dates, which by default begin and end with the term.
If in the timetable there are consecutive periods which you would like to be treated as a single long period, check the Treat consecutive periods as a single meeting box. The most obvious reason you would want to do this is to count attendance only once at the beginning of a double period.
Hit Save:
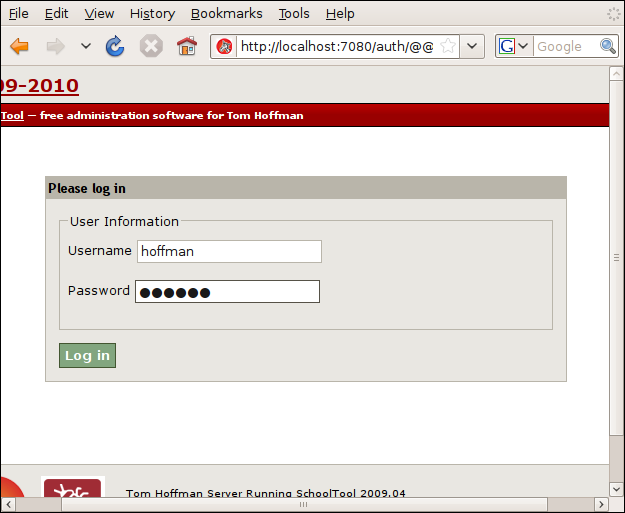
At this point, to demonstrate what all this adds up to, we’ll Log Out (upper right), and Log In as the instructor of the section, with the username and password created in Creating a User Account (if you’re running the selenium scripts that’s “hoffman” and “passwd”):
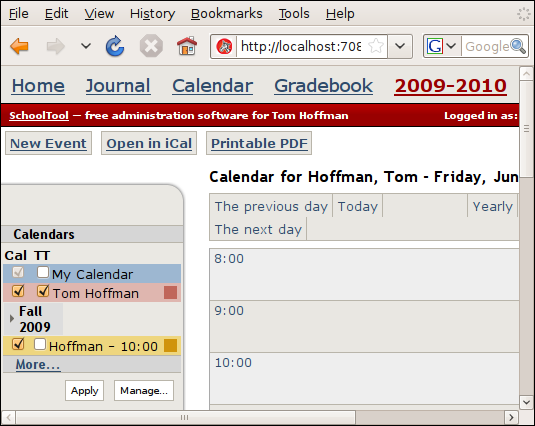
You can see the term and the section we created appear at the color legend for the calendar at left:
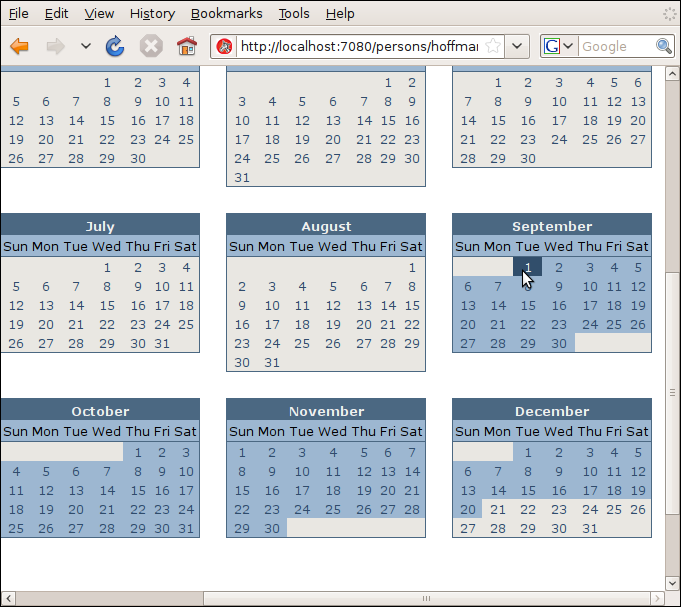
If the current day in real life is not a day when our fake section is meeting, you will want to navigate to a day during the term when the section meets. The easiest way to do this is to click Yearly at the top of the calendar and then click on a highlighted date that indicates a term is in session. In this case a Monday through Thursday since that’s when our section meets:
As you can see, an event has been created for the meeting of the section:
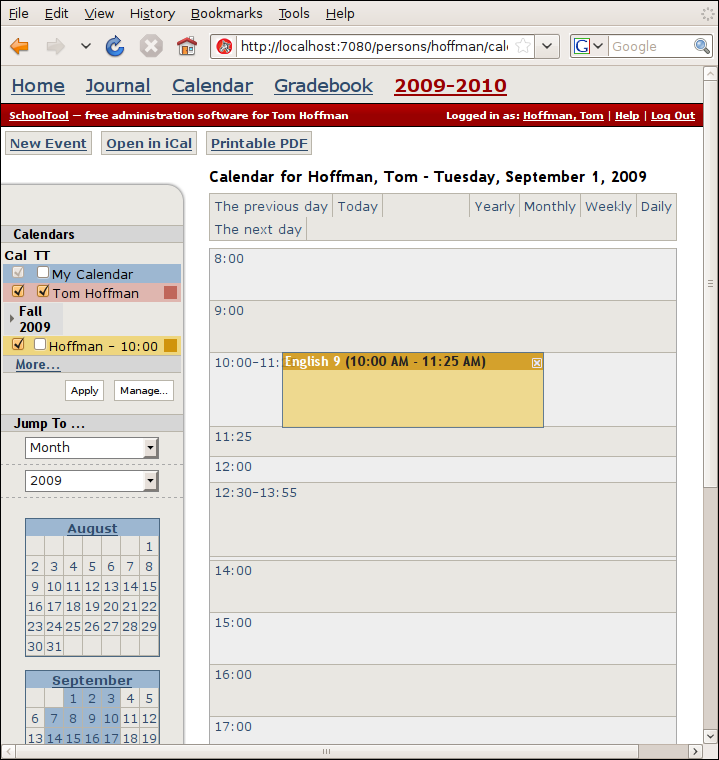
Also note that the hourly rows in the calendar are adjusted automatically to conform to the start and end times in the timetable.