Setting Up Courses
In SchoolTool, there is a distinction between “courses” and “sections.” A “course” describes what is taught – the curriculum. A section is an actual group of students being taught this content. For example, “1st Grade Mathematics,” “British Literature,” and “Algebra II” are all courses. “9:30 Algebra II, Spring 2008” or “Period B Algebra II, 2009 - 2010” are sections.
Where one teacher teaches all subjects to a single group of kids, for example, in a kindergarten, you can either make everything one course (“Kindergarten”) or split it up (“Kindergarten Math,” etc.). Whichever makes more sense for you. Things like “homeroom” or “advisory” or “internship” that are scheduled at a specific time but don’t have a set academic curriculum or grades are also considered courses.
You can’t create sections without courses, so any use of SchoolTool that requires students and teachers to be assigned to sections also requires courses. For larger or more complicated schools, importing courses from a spreadsheet or CSV file will save some time.
Courses are organized by year, so that they can be updated from year to year without overwriting previous courses or changed descriptions.
Entering Courses Through the Web Interface
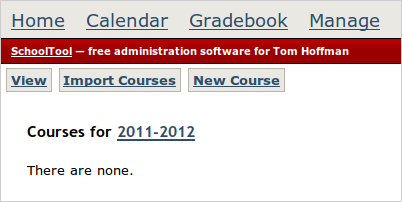
To create courses, logged in as “manager,” click the active school year and then Courses:
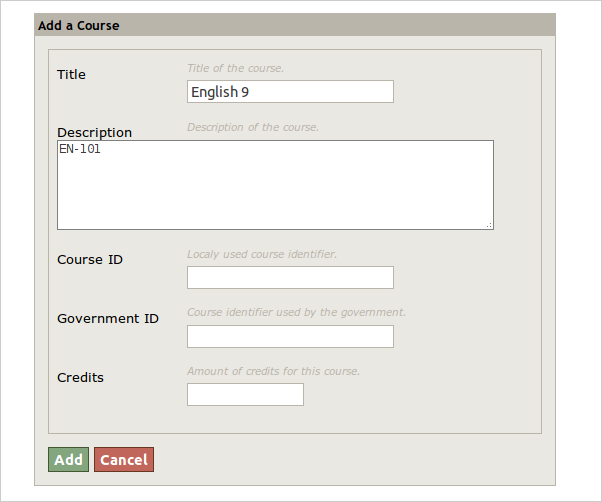
Then, click the New Course button and fill out the form. A title is required. Description, course and government ID’s and credits are optional:
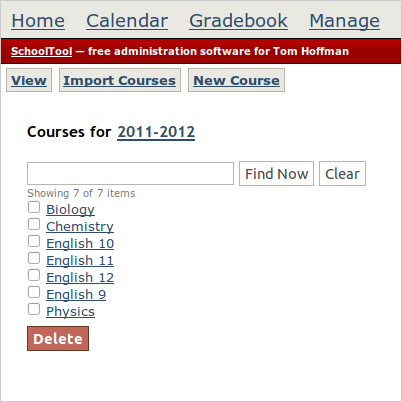
After you click Add, you should see your new course:

Entering Courses Using CSV Format
You can also import a simple text list of course titles, descriptions and IDs.
From the courses index, select Import Courses. You can then either upload a text file from your local filesystem, or use the textbox provided to either copy/paste from another document or simply type the necessary information.

The format, as described on the form, is simply:
title, description (optional), id (optional)
When you’re ready, press Submit, and if the import is successful you’ll see a “CSV text imported successfully.” message. You can click View to get back to the index: