Installing SchoolTool Ubuntu 11.04 or Later
Start by installing the server or desktop edition of Ubuntu Linux.
SchoolTool is included in the “Universe” software repository, which is enabled by default on installation.
In the terminal type:
sudo apt-get install schooltool
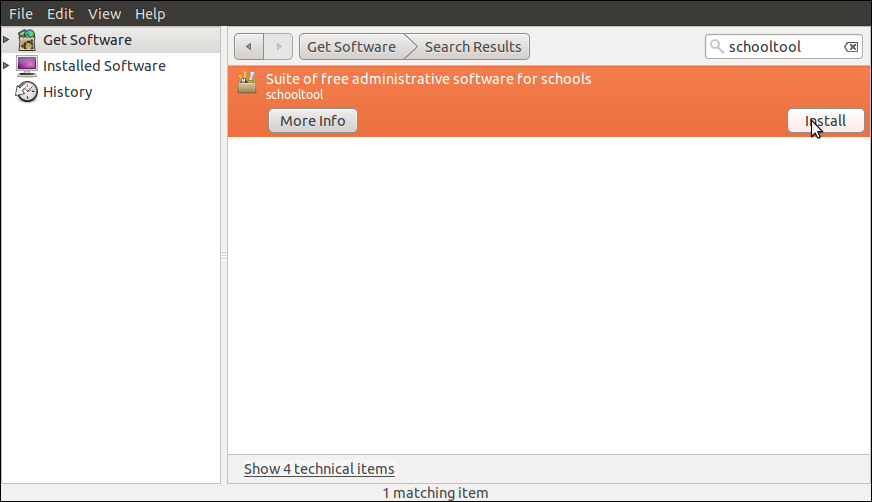
Or access the Ubuntu Software Center from the Applications menu. Search for “schooltool”, and then click Install and enter your password.
If all goes well, many, many small Zope components will be installed and you’ll have a SchoolTool server running on http://localhost:7080 or http://127.0.0.1:7080. The server may take a minute or two to actually start up.
The login is “manager” and the default password is “schooltool”.
Controlling the Server
Once you’ve installed the SchoolTool server, it will automatically start running and restart itself whenever you start the computer. Thus, SchoolTool will be running in the background and available at http://localhost:7080 whenever you need it.
The SchoolTool server process will take up some of your computer’s memory. Whether or not you will notice this depends on how much memory you have on your computer, which other applications you use, and how many applications and server processes you use at the same time.
You can start and stop the process manually if you’d like:
$ sudo service schooltool stop
$ sudo service schooltool start
Note that there can be a delay of 30 seconds to a minute between when you issue the start command and the prompt returns, and when SchoolTool’s web interface is actually accessible from a browser.
Or, if you are more used to init.d scripts you can still use:
$ sudo /etc/init.d/schooltool stop
$ sudo /etc/init.d/schooltool start
Note: If you want to use SchoolTool over a network or the internet go to Making SchoolTool’s Web Interface Accessible to Other Computers (or not).
You can now undertake the Initial Setup Process.

Table Of Contents
Previous topic
Next topic
Installing SchoolTool on Ubuntu Versions Earlier than 11.04